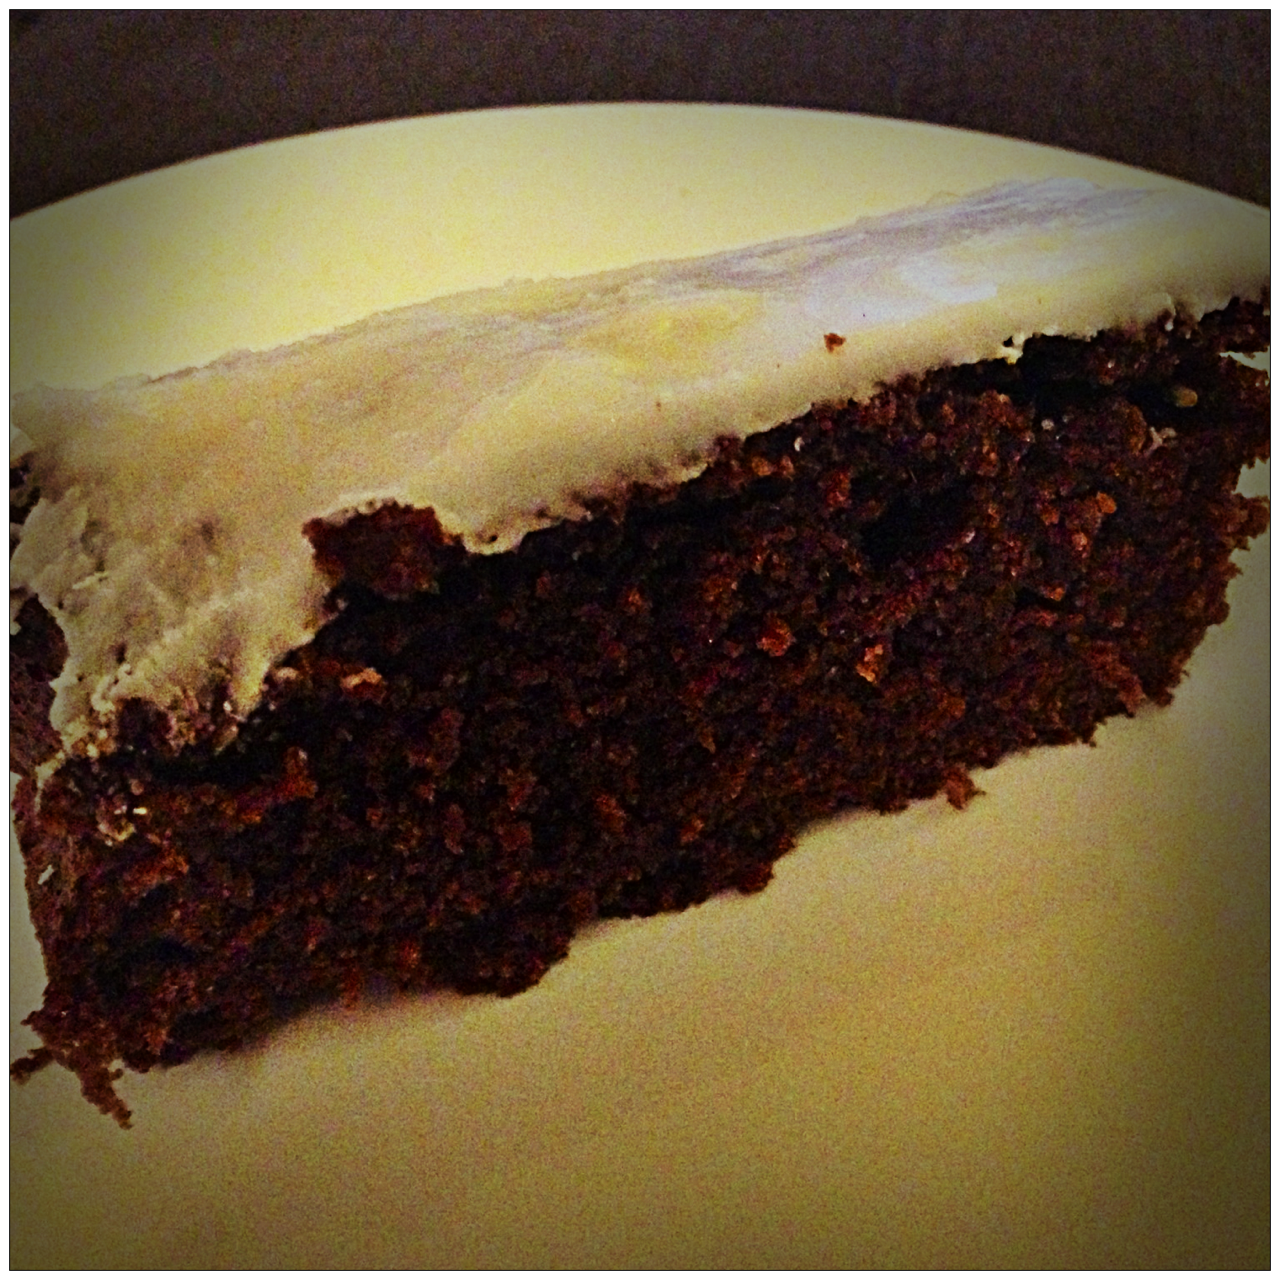
Fresh Gingerbread with Lemon Icing, ‘How to Be a Domestic Goddess’, Nigella Lawson
Another recipe from Nigella’s ‘How to be A Domestic Goddess’ and another winner! I am a big fan of traditional gingerbread (ie the cake version, not the biscuit version) and this recipe somehow reminded me of the Northern gingerbread I grew up loving! It’s made me think of digging out a recipe for Parkin that I used to eat on Bonfire Night each year! The addition of the lemon icing really works well here by freshening up the cake, which has quite a deep/earthy flavour on its own. This was a simple recipe to follow, and would be really nice for a bake sale or similar!
KB rating 8.5/10. PR rating 8.5/10
Fresh Gingerbread with Lemon Icing (makes 20 squares)
Ingredients:
For the gingerbread
- 150g unsalted butter
- 125g dark muscovado sugar
- 200g golden syrup
- 200g black treacle
- 2 tsp fresh ginger, finely grated
- 1 tsp ground cinnamon
- 250ml milk
- 2 large eggs, beaten to mix
- 1 tsp bicarbonate of soda, dissolved in 2 tbsp warm water
- 300g plain flour
- Roasting tin, approx 30 x 20 x 5cm, greased and lined with Bake-O-Glide, foil or parchment
For the icing
- 1 tbsp lemon juice
- 175g icing sugar, sieved
- 1 tbsp warm water
Method:
Preheat the oven to 170C/gas mark 3.
In a saucepan, melt the butter along with the sugar, golden syrup, treacle, ginger and cinnamon. Off the heat, add the milk, eggs and bicarbonate of soda in its water.
Measure the flour out into a bowl and pour in the liquid ingredients, beating until well mixed (it will be a very liquid batter). Pour it into the tin and bake for ¾ – 1hr until risen and firm. Be careful not to overcook it, as it is nicer a little stickier, and anyway will carry on cooking as it cools.
When it is cool, get on with icing. Whisk the lemon juice into the icing sugar first, then gradually add the water. You want a good, thick icing, so go cautiously and be prepared not to add all the water. Spread over the cooled gingerbread with a palette knife and leave to set before cutting.


